Vacuum Fear in Pets: Calm Training & Safe-Zone Steps
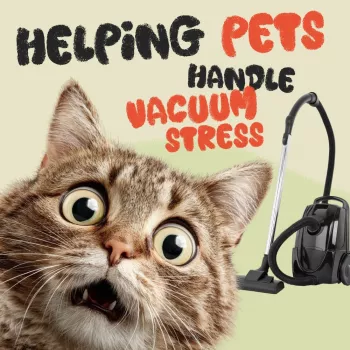
Helping Pets Handle Vacuum Stress
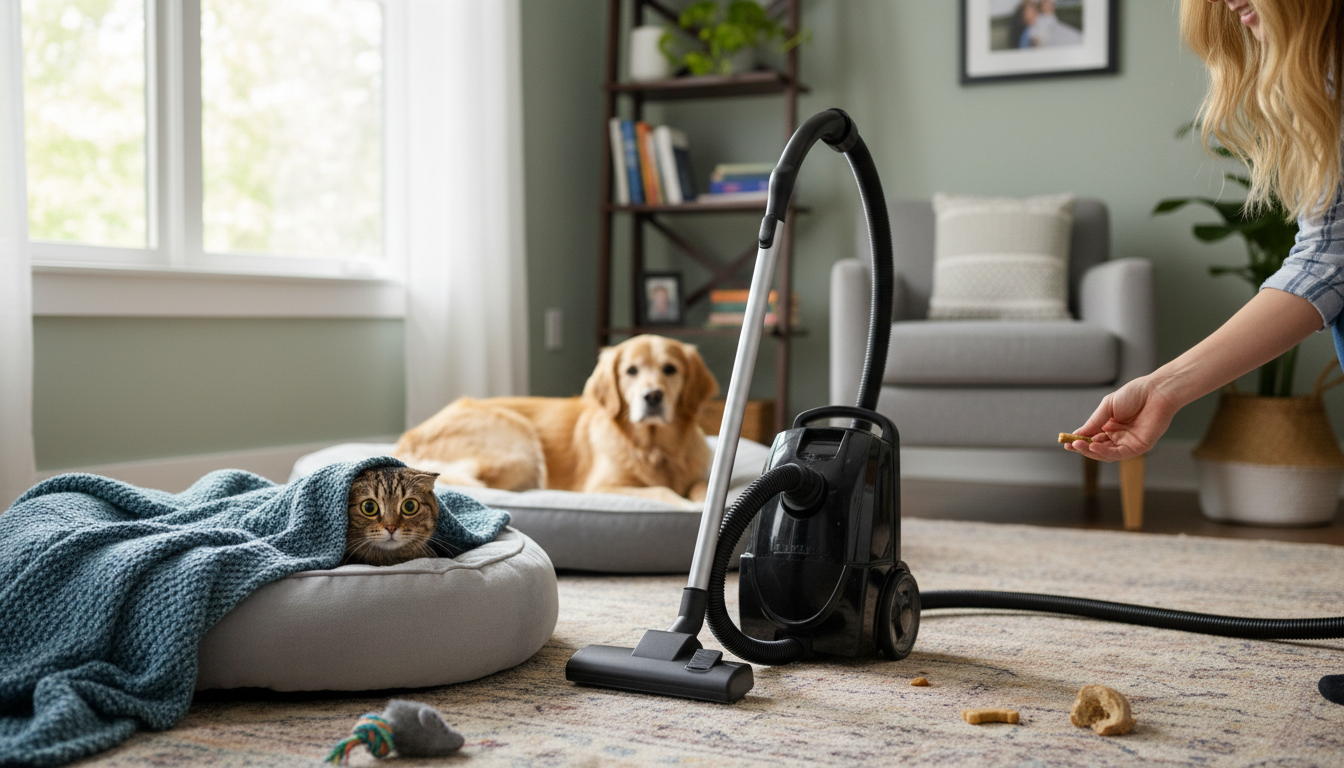
Some pets react to vacuums like they’re facing a predator: noise, vibration, sudden movement, and unfamiliar scent combine into a perfect storm. With a calm setup and a gradual plan, most dogs and cats can learn to stay relaxed—or at least feel safe—while the floors get cleaned.
What vacuum stress looks like (and why it happens)
Vacuum-related stress can look mild (a cautious retreat) or intense (full panic). Common signs include hiding, trembling, drooling, panting, ears pinned back, pacing, barking or lunging, swatting, or trying to escape the room. Some pets also “freeze,” staring hard at the vacuum with a stiff body and minimal blinking.
Why it happens often comes down to a few stacked triggers: loud high-frequency sound, unpredictable motion, strong airflow, and the vacuum’s approach-and-retreat pattern that can resemble a threat. Over time, a reinforcement loop forms—if vacuuming always ends with the pet panicking, that fear response gets practiced and strengthened.
Extra-sensitive pets may need a slower plan: puppies and kittens, rescues with unknown history, noise-sensitive individuals, seniors, and pets with pain or hearing changes. If you’re unsure whether stress is purely behavioral or partly medical, a veterinary check is a smart starting point. For behavior best practices, the American Veterinary Society of Animal Behavior (AVSAB) offers helpful guidance on humane, reward-based approaches: https://avsab.org/resources/position-statements/.
Set the stage before you vacuum
Before training ever begins, reduce the “intensity” of the experience so your pet has a real chance to succeed.
Create a safe zone
Choose a closed room, covered crate, or quiet corner stocked with bedding and water. For dogs, add a long-lasting chew or lick mat. For cats, offer a food puzzle or small dish of lickable treats. The safe zone should feel predictable, not like “isolation.”
Add sound buffering
White noise, a box fan, or calm music outside the safe zone can soften the sharp frequencies that bother many pets. The goal isn’t silence—it’s reducing the “spiky” quality of the vacuum sound.
Pick smart timing and use distance
Exercise or play first, then vacuum during your pet’s natural rest window. Start vacuuming farthest from the safe area and move gradually closer only if your pet stays calm. Distance is one of the most powerful stress reducers you can use.
Check the equipment
A quieter vacuum helps, but simple maintenance matters too: clean filters, check for clogs, and make sure wheels roll smoothly. Rattles, squeals, and clattering attachments can be more startling than the motor itself.
A gradual training plan that builds confidence
The goal is to change the vacuum from “scary thing” to “predictable background event” using tiny steps and rewards. A helpful rule of thumb: if your pet won’t eat, play, or relax, the step is too hard. Add distance, reduce intensity, or shorten the session.
Step 1: Vacuum off, visible
Leave the vacuum in view at a distance while offering treats (dogs) or tossing a few pieces of kibble/lickable treats (cats). You’re teaching: “Vacuum present = good stuff happens.”
Step 2: Movement without sound
Roll the vacuum a few inches, reward, then stop. Keep sessions short—often 1–3 minutes is plenty. Multiple micro-sessions beat one long attempt.
Step 3: Add sound at low intensity
Step 4: Build a predictable routine
Two-Week Vacuum Desensitization Plan (adjust pace as needed)
| Day(s) | Vacuum step | Pet setup | Success sign |
|---|---|---|---|
| 1–2 | Vacuum visible, OFF | Treats/food game at a distance | Eats normally; loose body |
| 3–4 | Roll vacuum a few inches, OFF | Reward after each small movement | Stays in place; curious, not tense |
| 5–6 | Vacuum ON for 1–2 seconds in another room | Safe zone + high-value chew | Minimal startle; returns to chewing |
| 7–9 | Vacuum ON for 5–15 seconds at a distance | Reward calm pauses; end before stress rises | Normal breathing; no hiding/bolting |
| 10–12 | Vacuum in same room, far side, short passes | Pet behind gate or on mat | Can disengage and relax quickly |
| 13–14 | Normal vacuuming pattern (brief sessions) | Safe zone remains available | Neutral response most of the time |
What to do during vacuuming (real-life management)
If the reaction is intense: safety and troubleshooting
Seek help if you see panic that escalates, self-injury, destructive escape attempts, or aggression around the vacuum. A veterinarian and/or credentialed behavior professional can help with a tailored plan. For general noise-fear guidance, the RSPCA has a useful overview: https://www.rspca.org.uk/adviceandwelfare/pets/dogs/health/fearofnoises.
Extra calming supports that can help
Enrichment can act as a buffer: scatter feeding for dogs, foraging toys for cats, or a short post-vacuum play session to “reset” the routine. If noise sensitivity seems sudden or severe, a veterinarian can rule out pain or medical contributors. For cat stress and body-language guidance, International Cat Care is a strong resource: https://icatcare.org/advice/.
Recommended resources (shop)
- Helping Pets Handle Vacuum Stress
- Calm Your Mind: Guided Meditation Series | Audio Course | Anxiety Relief Meditation
- Calm Your Mind: Guided Meditation Series (pair with your pet’s safe-zone routine)
FAQ
Should a pet be comforted or ignored when the vacuum is on?
Comforting calm behavior is fine, but avoid frantic soothing when your pet is panicking. Focus on distance, safety, and rewarding relaxed body language so your pet learns what “works.”
How long does it take for a pet to get used to a vacuum?
Many pets improve in 1–3 weeks with short, consistent sessions. Noise-sensitive or traumatized pets may need months and a slower plan, and that’s still a meaningful form of progress.
Is it better to vacuum with pets in the room or separated?
Start separated for safety and reduced stress. Gradually reintroduce controlled exposure only when your pet can stay calm and has an easy escape route.


Leave a comment