Add Smart Trip to Apple Wallet or Google Wallet (Fast)
How to add Smart Trip on wallet?
Adding a Smart Trip pass to your phone’s wallet makes it easier to tap and ride without opening an app each time. The exact screens vary a little by transit system and device, but the overall flow is usually the same: find your Smart Trip in the provider’s app or confirmation page, choose the option to add it to your wallet, then confirm it’s ready for use.
For the step-by-step walkthrough (including what to check if you don’t see the button), use the full guide here: https://majesticfindssanctuary.shop/how-to-add-smart-trip-on-wallet/.
Step-by-step: Add Smart Trip to Apple Wallet (iPhone)
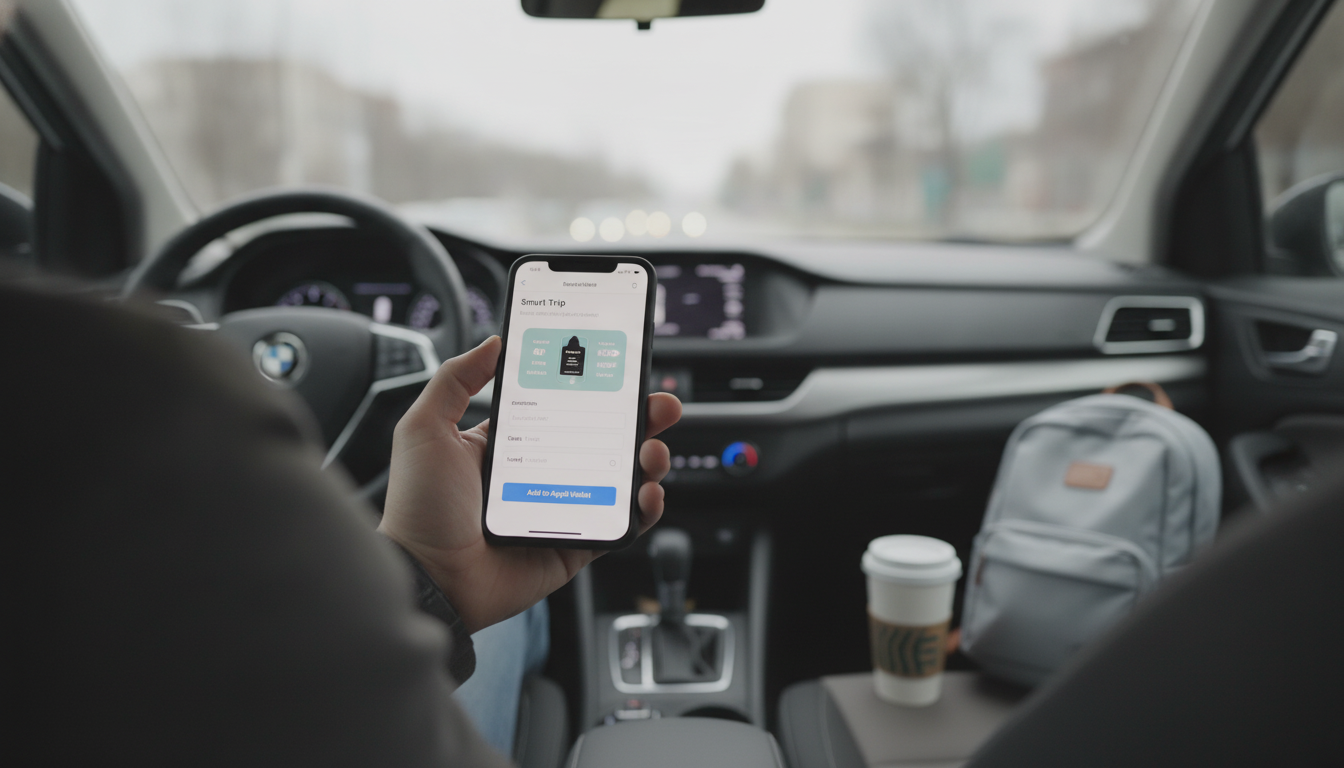
1) Open the transit app or the Smart Trip purchase/confirmation screen (often from email or the app’s “Tickets/Passes” section).
2) Tap Add to Apple Wallet (or Add).
3) Review the pass details, then tap Add in the top-right corner.
4) Open the Wallet app to confirm the pass appears and shows the correct status.
If you plan to tap at a gate/reader, check whether Express Mode is available for transit passes on your device so you can use it without Face ID/Touch ID prompts (where supported).
Step-by-step: Add Smart Trip to Google Wallet (Android)
1) Open the transit app or the Smart Trip ticket/pass screen.
2) Tap Add to Google Wallet (or Save to phone, depending on the system).
3) Confirm the Google account and accept any prompts.
4) Open Google Wallet to verify the pass is listed and ready.
If the pass doesn’t appear, make sure Google Wallet is installed and updated, and that you’re signed into the same Google account you used when adding the pass.
Troubleshooting quick checks
If you don’t see an “Add to Wallet” option, it may be because the pass type isn’t supported for wallet storage, the ticket is expired/unused in a way that prevents saving, or your device/account doesn’t meet requirements. Also confirm you’re using an updated OS version and that your region settings match the transit system’s supported areas.
FAQ
Why can’t I see the “Add to Wallet” button for my pass?
It may be a pass-type limitation, an expired or not-yet-active ticket state, or a device/app requirement (like an outdated OS or missing Wallet app support). Updating the transit app and checking the pass status usually resolves it.


Leave a comment